Water dripping from your apartment ceiling? It’s like a horror movie where the villain is… plumbing. Panic is natural, but don’t worry—we’ve got your back. After realizing how common of an apartment ceiling leak can be, we’ve decided to create this guide, which has everything you need if you happen to be the unfortunate victim of an apartment ceiling leak. We’ll show you how to spot the first telltale drips to taking action on exactly what rights you have as a tenant. Let’s get you prepared and in control!
What to do if apartment ceiling leaks?
Grab a bucket to catch the drips, move your stuff out of harm’s way, and throw some plastic over your furniture to keep it safe. Then, call your landlord or property manager ASAP and snap some photos to document the mess.
What Causes Apartment Ceiling Leaks?
Apartment ceiling leaks can originate from multiple sources, each presenting unique challenges:
Plumbing-Related Causes
- Upstairs Neighbor’s Appliance Failures
- Dishwashers with faulty connections
- Refrigerator water line ruptures
- Washing machine hose damages
- Structural Plumbing Issues
- Corroded pipes
- Pipe joints with compromised seals
- Temperature-induced pipe stress (freezing/expansion)
Building and Environmental Factors
- Roof damage or deterioration
- Exterior wall cracks
- Inadequate building maintenance
- Poor waterproofing in multi-unit structures
Tenant-Related Causes
- Accidental overflows
- Unreported minor leaks
- Improper bathroom and kitchen maintenance
Critical Signs of Potential Ceiling Water Damage
Early detection can save thousands in repair costs. Watch for these warning indicators:
Visual Indicators
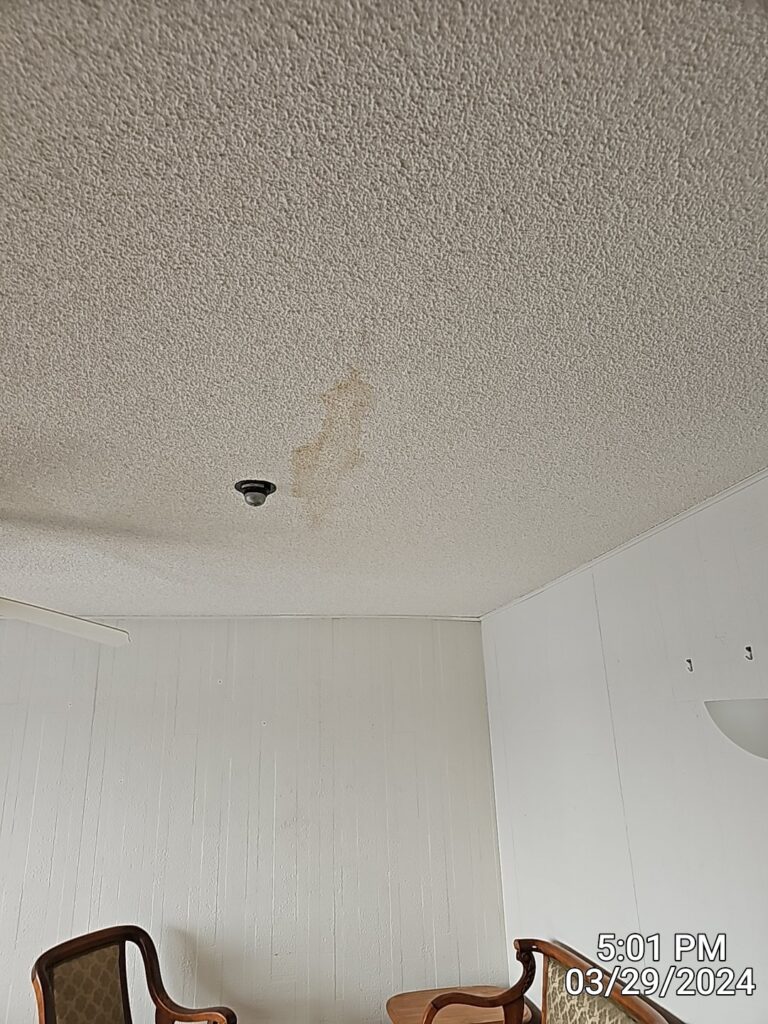
- Discoloration (yellow, brown, or rust-colored stains)
- Bubbling or peeling paint
- Visible water tracks
- Hairline cracks developing unexpectedly
Structural Warning Signs
- Sagging or bulging ceiling sections
- Soft or spongy ceiling texture
- Visible mold growth
- Unexplained musty odors
Immediate Steps When You Discover a Leak
Emergency Response Protocol
- Containment
- Place buckets to catch dripping water
- Use plastic sheeting to protect flooring and furniture
- Move valuable items away from the affected area
- Documentation
- Photograph damage thoroughly
- Record timestamps of leak observations
- Document any visible water sources
- Notification
- Immediately contact property management
- Send a written communication (email/certified letter)
- Request emergency maintenance
Understanding Repair Responsibilities
Landlord Responsibilities
- Structural repairs
- Addressing plumbing issues within walls
- Fixing roof and external building damages
- Ensuring habitable living conditions
Tenant Responsibilities
- Reporting leaks promptly
- Mitigating potential additional damage
- Maintaining personal living spaces
- Cooperating with repair investigations
Insurance Considerations
- Renter’s insurance may cover personal property damage
- Landlord’s property insurance handles structural repairs
- Understanding policy nuances is crucial
Quick Reference Table: Apartment Ceiling Leaks
| Topic | Key Actions | Why It Matters |
|---|---|---|
| Early Warning Signs | Look for discoloration, sagging ceilings, bubbling paint, and musty odors. | Catching damage early can prevent costly repairs. |
| Immediate Steps | Contain the water with buckets, protect valuables with plastic sheeting, and move furniture. Document damage with photos and notes. | Reduces further damage and ensures you have proof for insurance or landlord discussions. |
| Notify Your Landlord | Contact property management immediately via phone and follow up with an email or certified letter. | Ensures the landlord is aware and responsible for arranging repairs. |
| Repair Responsibilities | Landlords handle structural and plumbing repairs. Tenants must report leaks promptly and protect their belongings. | Knowing who’s responsible avoids delays and disputes. |
| Insurance Coverage | Renter’s insurance may cover damaged belongings. Landlord insurance covers structural damage. | Protects your property and ensures you understand your rights and coverage. |
| Prevention Tips | Inspect appliances regularly, report minor leaks early, maintain good communication with your landlord and neighbors. | Proactive measures can stop small problems from turning into major issues. |
| Cost Factors | Repairs range from $50 (minor damage) to $5,000+ (extensive damage). Costs depend on the extent of water damage, materials needed, and mold risks. | Helps plan for potential financial impacts and prioritize urgent repairs. |
Prevention Strategies for Apartment Ceiling Leaks
Proactive Maintenance
- Conduct monthly visual inspections
- Check appliance connections
- Monitor bathroom and kitchen areas
- Maintain good relationships with neighbors
Communication Best Practices
- Build positive rapport with property management
- Report potential issues immediately
- Keep detailed communication records
- Understand your lease agreement thoroughly
Cost Considerations
Repair Cost Ranges
- Minor repairs: $50 – $250
- Moderate damage: $500 – $1,500
- Extensive water damage: $1,500 – $5,000+
Factors Affecting Repair Costs
- Extent of water damage
- Material replacement needs
- Mold remediation requirements
- Structural repair complexity
Frequently Asked Questions
Q: How quickly should I respond to a ceiling leak? Immediate action is critical. Within 24-48 hours, water damage can lead to mold growth and structural deterioration.
Q: Can I withhold rent if my landlord doesn’t address a ceiling leak? Laws vary by location. Consult local tenant rights organizations and potentially seek legal advice.
Q: How can I prevent future ceiling leaks? Regular inspections, prompt maintenance, and open communication with property management are key preventive measures.
Conclusion
Understanding apartment ceiling leaks empowers you to protect your living space and personal property. Stay vigilant, communicate effectively, and act swiftly when issues arise.
Disclaimer: This guide provides general advice. Always consult local housing regulations and professionals for specific situations.
Apartment Ceiling Leaks in the Wild
How can we write this guide? What experience do we have?? Well sit back little Johnny, have I got a tale or two for you. We’re seen our fair share of apartment ceiling leaks… in fact! I’d say it is one of our top 5 most common water damage cleanup jobs! Let’s take a look at a recent client’s leaking ceiling woes below:
The Call Comes In:
Our team received an urgent call from the apartment resident on the third floor of a Roseville apartment complex. His ceiling was showing extensive water damage, and the situation wasn’t looking pretty. This wasn’t just dealing with a few spots—this was a full-scale water intrusion that needed immediate attention. We need to re-iterate this again; apartment ceiling leaks are not something to be taken lightly.
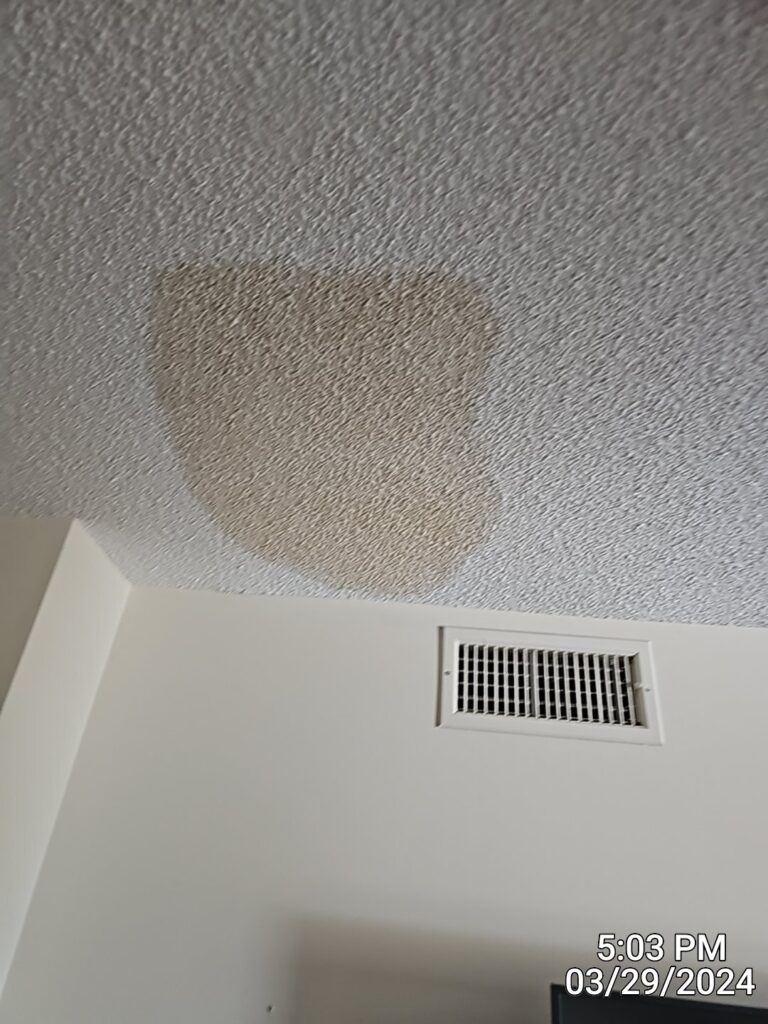
Step 1: Assessing the Damage
The BOR team arrived on-site that night to assess the apartment ceiling leak situation. The culprit? Damage from the building’s roof had allowed water to seep into the resident’s apartment, creating a domino effect of issues across his unit.
Here’s what we found:
Restroom
- Extent of damage:
About 90% of the restroom showed water damage, mostly from water dripping through the ceiling. Stains marked the walls and ceiling, and the materials were visibly compromised. - Work needed:
- Remove the wall behind the toilet and sink (approximately 9×8 feet).
- Remove both the toilet and the sink to access and repair the damaged areas.
- Potential removal of the ceramic tiles if water had seeped underneath.
Living Spaces
- Ceiling damage everywhere:
Water stains dotted nearly every room, including the master restroom, dining area, living room, and a second dining room. These weren’t just cosmetic spots—they were a sign of deeper issues. - Popcorn ceiling problems:
The popcorn texture on the ceiling had absorbed water and started sagging. The only solution? Scrape off the damaged texture and completely retexture the ceilings.
Step 2: Emergency Action
With water damage, time is of the essence. Here’s what we did immediately to stabilize the situation:
- Protected the Space:
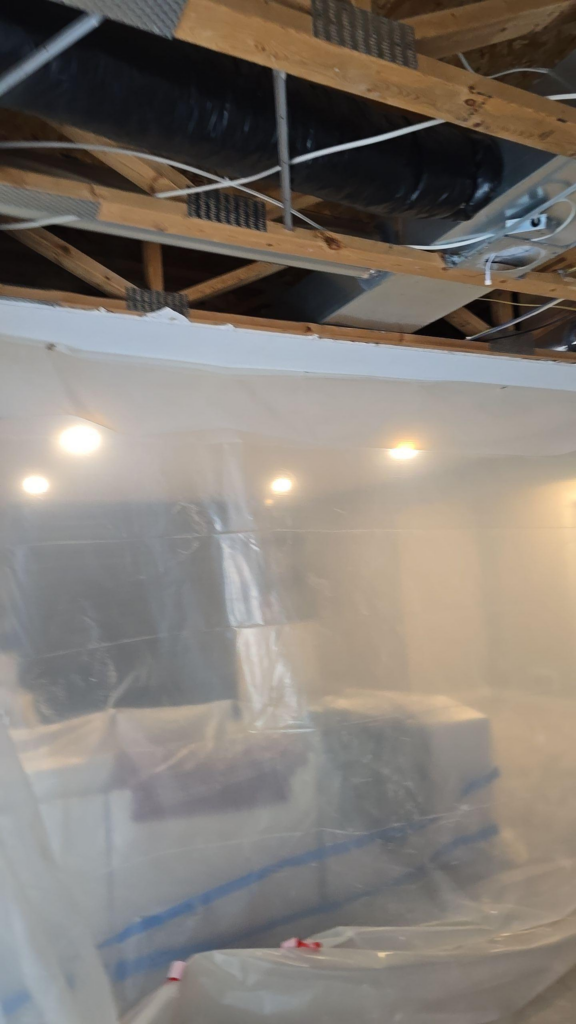
- Covered floors and moved furniture to prevent further damage.
- Set up plastic sheeting to protect undamaged areas from debris during demolition.
- Water Removal:
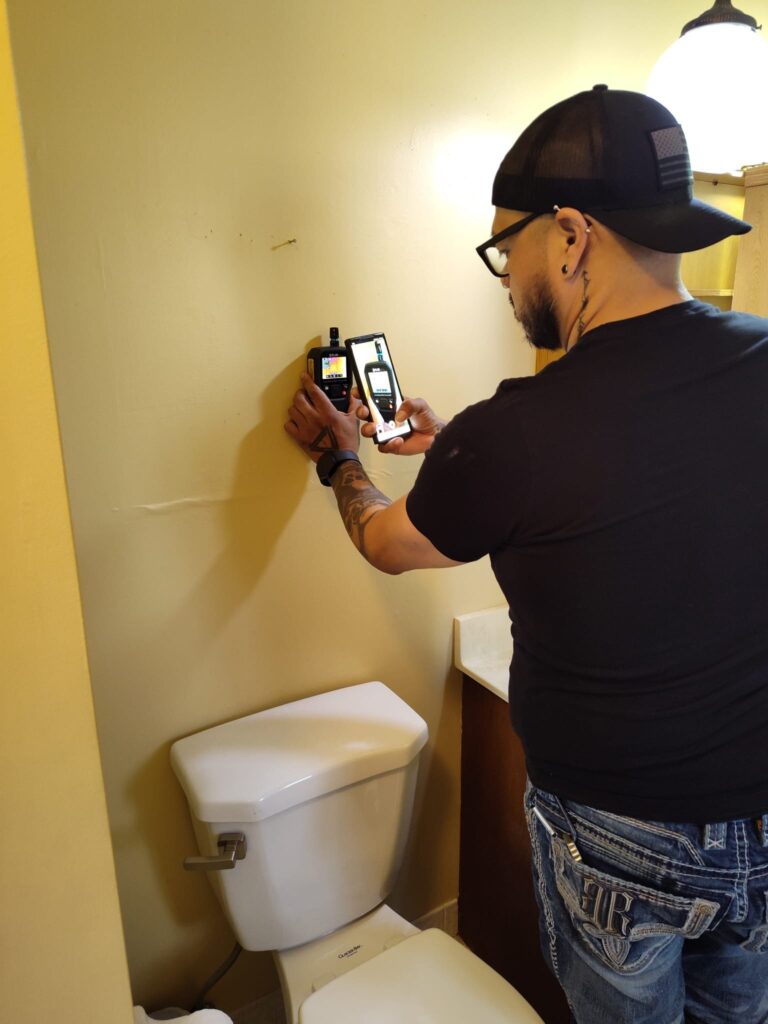
- Used moisture meters to identify areas where water was still present.
- Deployed industrial dehumidifiers and air movers to dry out the condo as quickly as possible.
- Documentation:
- Took extensive photos and notes to document the damage. This not only helped the resident understand the scope of the work but also assisted in his insurance claim.
Step 3: The Restoration Process
Once the initial stabilization was complete, we began the real work of restoring the unit.
Restroom Repairs
- The damaged wall was carefully removed, exposing water-soaked insulation and drywall.
- The toilet and sink were uninstalled to allow full access to the affected areas.
- We removed sections of ceramic tile that showed signs of water intrusion underneath.
Ceilings in the Living Spaces
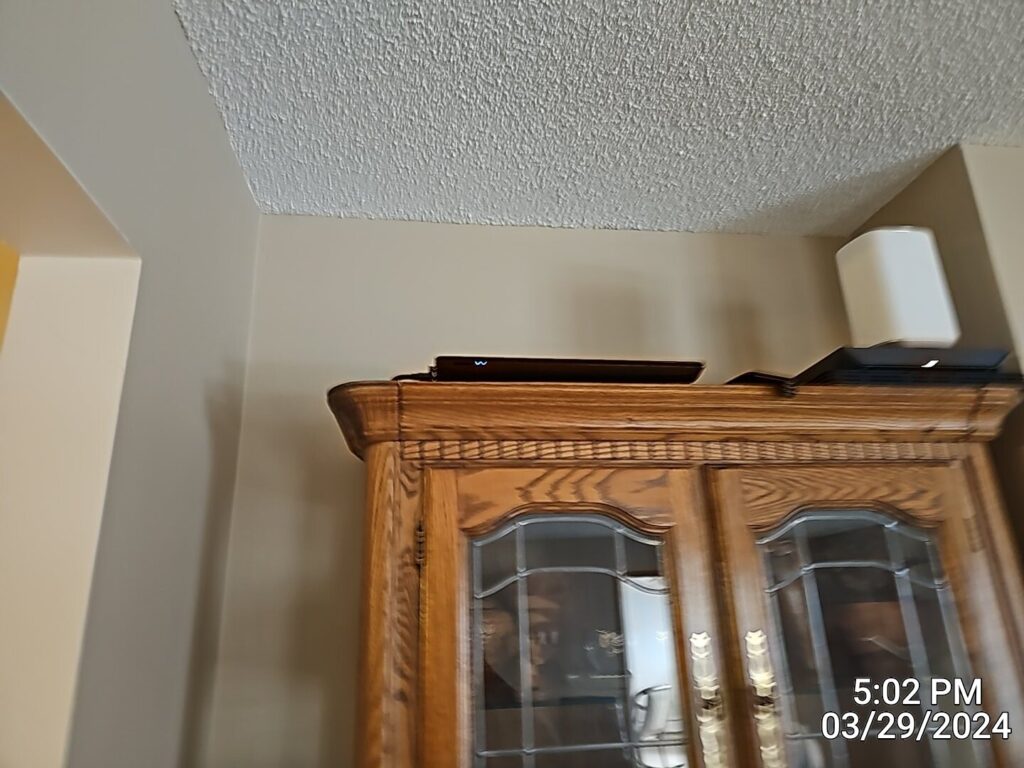
- All damaged popcorn ceiling material was scraped off—no easy task when you’re dealing with multiple rooms.
- After the ceilings were stripped, we applied a fresh texture to give the space a modern, clean look.
Hidden Issues
Water damage isn’t always visible on the surface. Using moisture meters and infrared cameras, we uncovered:
- Trapped moisture behind drywall in the dining area and second dining room.
- Damp insulation in the ceiling that needed replacing to prevent mold growth.
Step 4: Finishing Touches
Once the structural repairs were complete, we turned our attention to making the resident’s home livable again.
- Painting and Refinishing: Fresh coats of paint brought the walls and ceilings back to life.
- Reinstallation: The sink and toilet were carefully reinstalled after ensuring all plumbing connections were leak-free.
- Cleanup: We vacuumed, wiped down surfaces, and removed all debris, leaving the condo spotless.
Step 5: The Final Result
This resident’s condo was transformed from a soggy mess to a beautifully restored living space. Here’s what he had to say:
“I was so stressed when I first saw the damage, but your team made the entire process so much easier. I can’t believe how quickly you turned things around—thank you!”
Lessons from the Job
This project was a great reminder of why swift action is critical in water damage and apartment ceiling leak situations:
- Early intervention saves time and money: By addressing the issue immediately, we minimized the risk of mold and structural damage.
- Documentation is key: Having detailed records made the resident’s insurance claim smoother and ensured everyone was on the same page about the scope of repairs.
- No detail is too small: From scraping popcorn ceilings to replacing insulation, tackling every aspect of the damage ensured a thorough restoration.
If you’re dealing with a ceiling leak, don’t wait. As the resident’s story shows, the right team can make all the difference. Stay proactive, document everything, and work with experts to get your home back to normal.
Got a similar issue? Call us today and let’s get started!